
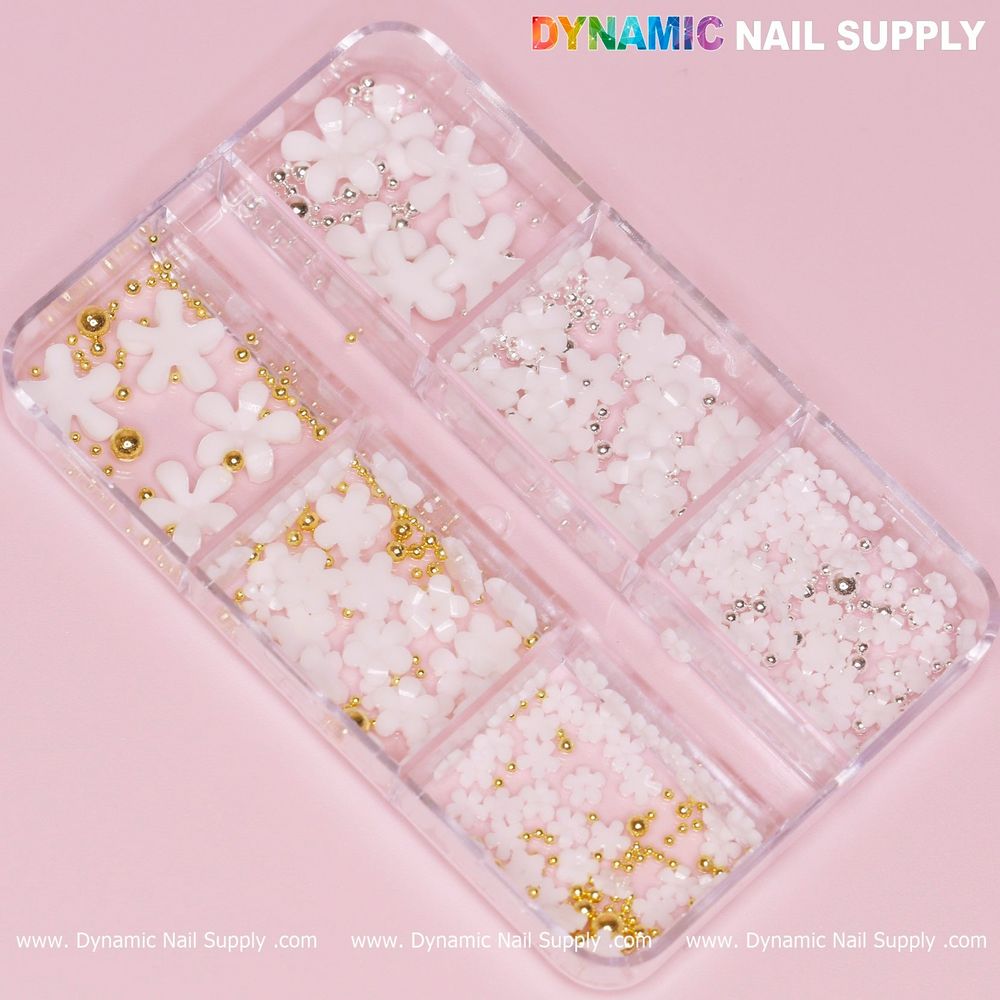
3D daisy nail charms add instant dimension and a seasonal pop to any manicure. Whether you’re a DIY enthusiast or a nail tech prepping for clients, these small resin flowers with metallic bead accents can look salon-perfect when you use the right prep, placement, and finishing techniques.
Why 3D daisy nail charms lift a manicure
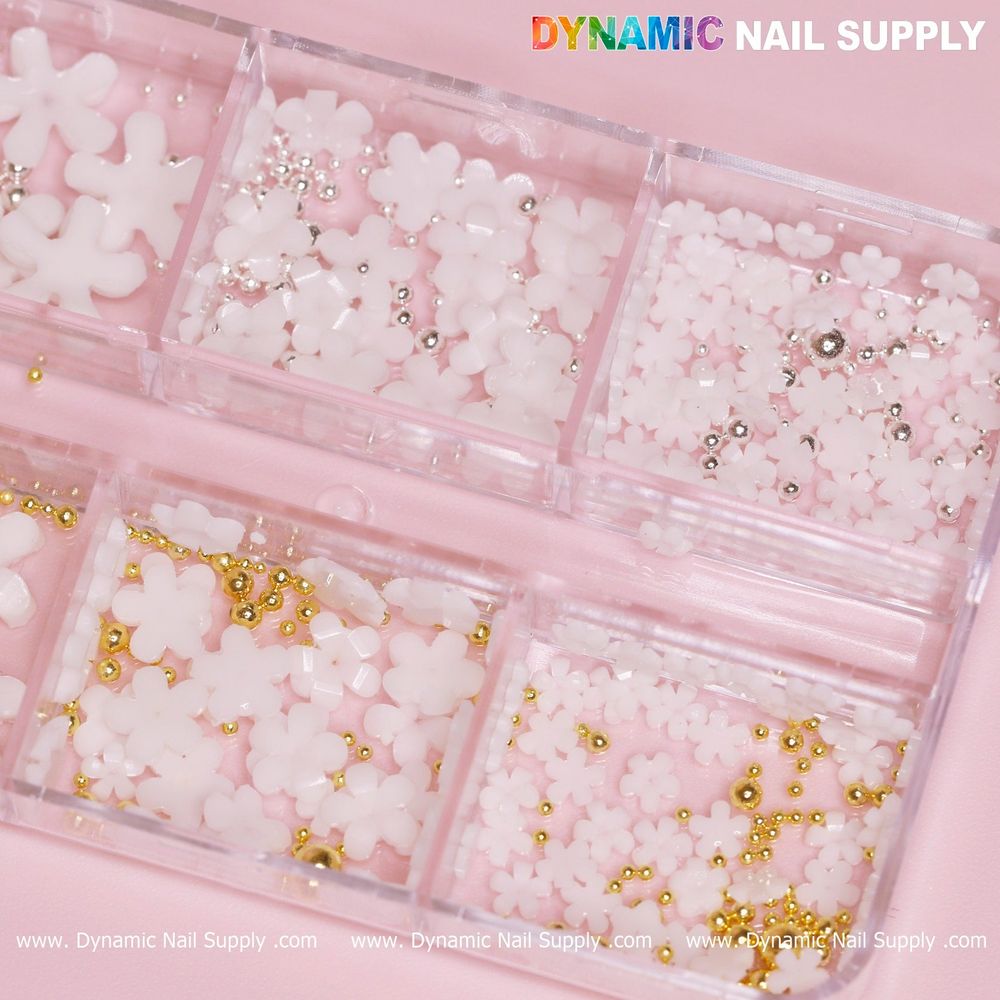
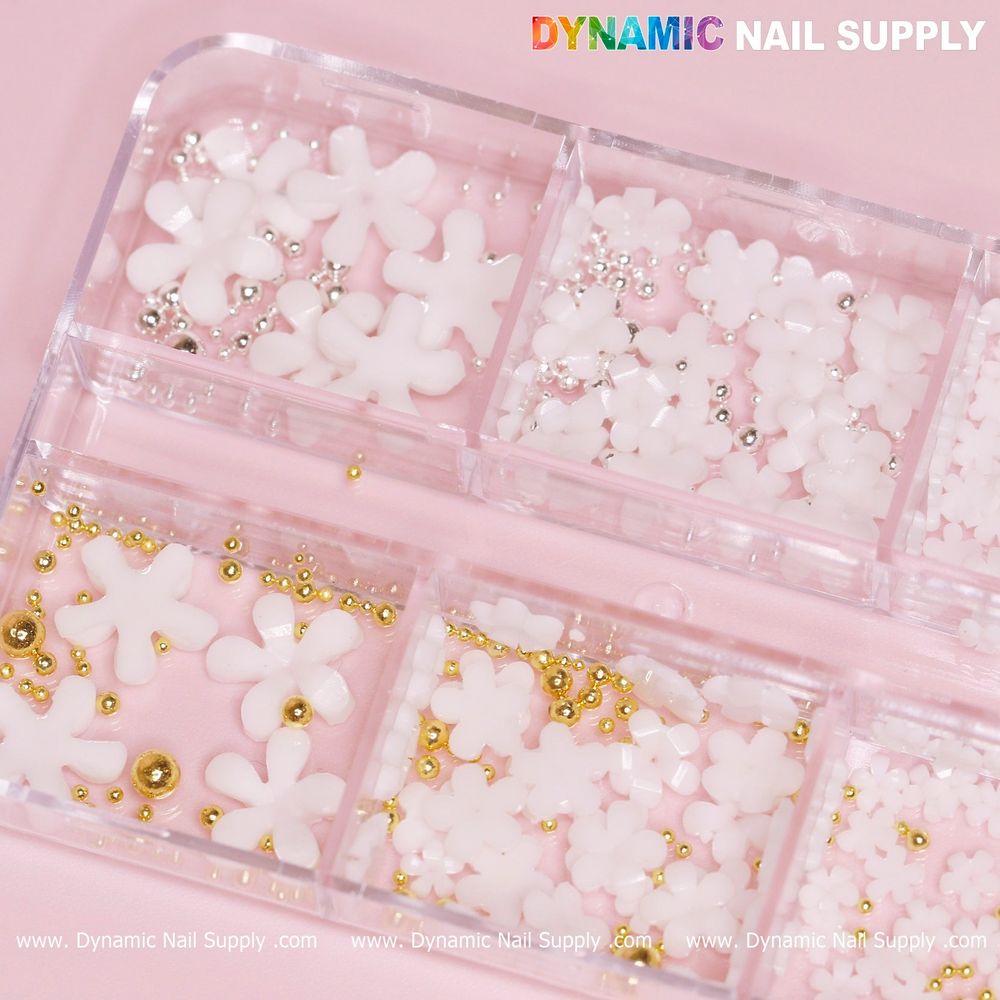
Unlike flat decals, three-dimensional resin flowers create depth and a handcrafted look that photographs beautifully and stands out in a salon display. The white resin petals pair especially well with soft pastels, sheer bases, or negative-space designs, while the gold and silver bead centers add a hint of luxe without overwhelming the nail.
What’s in the case and buying notes
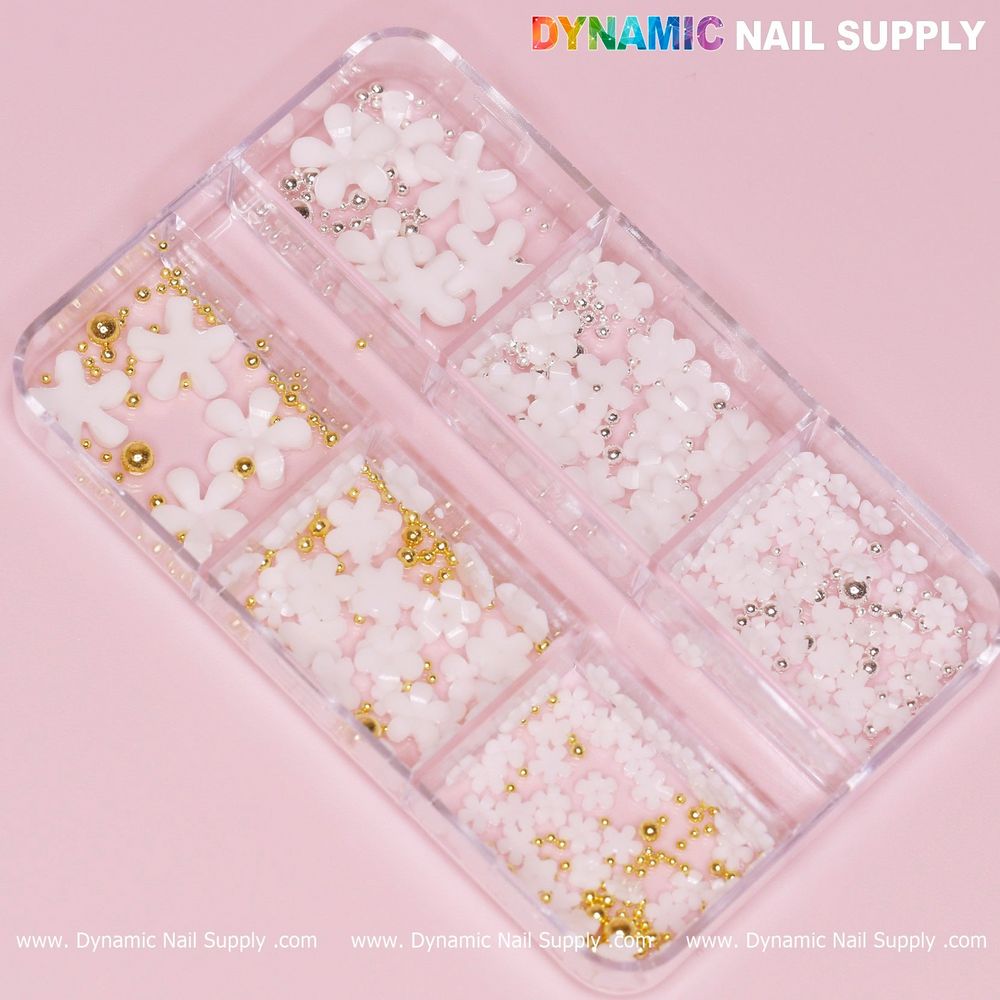
Each case contains a bundle of white 3D resin daisy pieces intended for nail art use. If you plan to stock up for clients or seasonal sets, order a case of the daisy flower charm to keep a steady supply on hand. The current listed price is $5.99, though prices may change.
Prep: get the perfect sticky surface
Good adhesion starts with proper prep. Follow these steps before applying any charm:
- Clean the nail: remove oils and residues with a nail cleanser or alcohol wipe.
- Shape and buff: lightly buff the surface where the charm will sit to give a toothy texture for better bond.
- Use the right base: a tacky gel layer or a sticky-builder coat works best for 3D pieces; if using acrylic, apply charms while the bead is slightly wet.
Placement techniques for salon-caliber results
Placement matters. Small adjustments during application make a big visual difference.
Tools you’ll want
- a wax pencil or tweezers for precise handling
- a small dabber or brush for adhesive placement
- a fine-tipped gel or builder brush to smooth surrounding product
Step-by-step placement
- Plan the composition: hold the charm above the nail to test scale and angle before applying adhesive.
- Add adhesive: place a small bead of clear gel or nail glue where the charm will sit; avoid excess to prevent overflow.
- Set the charm: use a wax pencil or tweezers to position the daisy, pressing gently to plunge the bead into the adhesive for a secure seat.
- Lock it in: cure gel adhesive according to product instructions or allow glue to set fully before moving to finishing steps.
Finishing and sealing for durability
Because 3D resin flowers sit above the nail plate, sealing edges and using the proper topcoat approach will extend wear time and protect the piece.
- Encapsulate the base: apply a thin layer of builder gel around the base of the charm to form a gentle ramp—this reduces catching and helps the piece stay anchored.
- Topcoat strategy: use a brush-on gel topcoat around the charm’s perimeter rather than trying to cover the top surface entirely—you don’t want to flatten the three-dimensional look unless full encapsulation is part of the design.
- Edge checks: inspect from multiple angles and add small amounts of gel where the charm meets the nail until the join looks seamless.
Styling ideas and who these are for
These white 3D resin daisies are ideal for spring and bridal looks, minimalistic floral sets, or mixed-media nail art. They’re suitable for:
- Home nail artists wanting a pro finish without advanced sculpting
- Salon technicians building a seasonal menu or offering one-off specialty sets
- Educators teaching placement and finishing techniques for 3D embellishments
Pair the flowers with sheer nude gels, pastel ombrés, or chrome accents to highlight the gold and silver bead centers.
Care and safety notes
Resin embellishments are decorative and should be applied with care. Keep these points in mind:
- Avoid bending the piece—resin can crack under force.
- Advise clients to be mindful around rough fabric and heavy manual tasks to reduce the risk of catching or loss.
- Remove by soaking or carefully filing around the base as appropriate for the adhesive system used—do not force removal.
Conclusion: small pieces, big impact
With simple prep, precise placement, and thoughtful finishing, white 3D resin daisy charms can transform a basic manicure into a memorable, salon-quality look. Keep a few on hand for seasonal bookings or quick add-on services—these tiny accents provide a high-style payoff for minimal time.
For supply questions or to check availability, Dynamic Nail Supply lists these as part of their accessories and decorations collection.
